Settings: overview and guides
Connect Stripe and receive payments in your own account
Payments run through your own Stripe account: you are the merchant, and revenue, refunds and payouts are yours. Merchavio's fee per sale is deducted automatically with each payment.
The steps in Merchavio
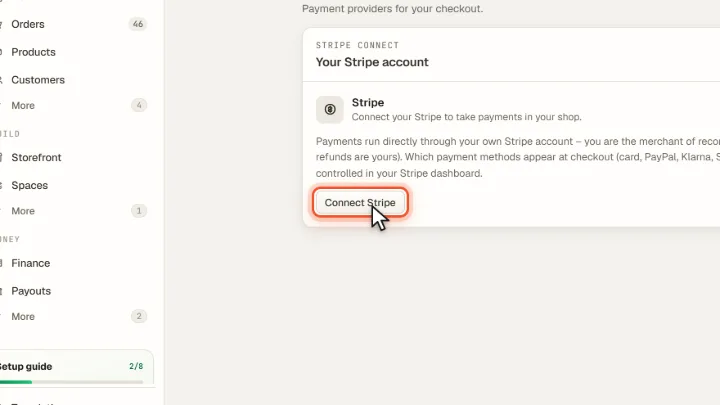
Screenshots from Merchavio with sample data. The coloured frame shows where to click.
Connect Stripe
Open Settings and then Payments. Click Connect Stripe and log in to Stripe or create an account. The first time, Merchavio asks for your details beforehand on the page Ready to sell: name or company, business address and VAT status. They appear in your imprint and on purchase confirmations.
Choose payment methods
Which payment methods appear at checkout (card, SEPA, PayPal, Apple Pay, Google Pay, Klarna) is set in your Stripe dashboard. PayPal is switched on there once.
Frequently asked questions
When do I get my money?
Stripe pays out to your bank account according to your Stripe payout schedule. Merchavio never holds your money.