Storefront: overview and guides
Design the checkout for your digital products
Buyers reach the checkout from every product page, every buy button and direct links. It follows your theme automatically; you adjust the details. Payment runs through Stripe on your own Stripe account.
The steps in Merchavio
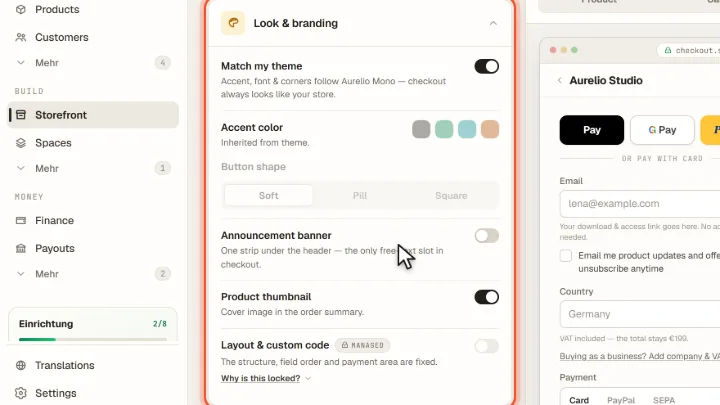
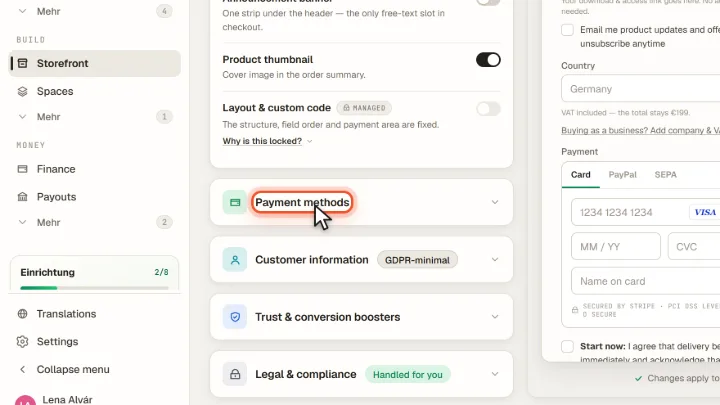
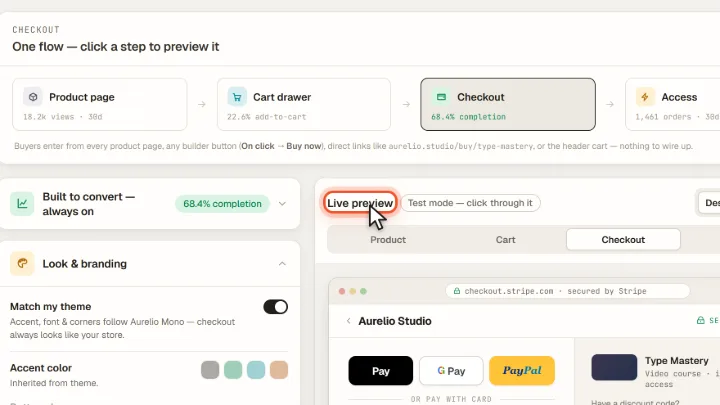
Screenshots from Merchavio with sample data. The coloured frame shows where to click.
Open Checkout
Open Storefront and click the Checkout tab. Under Look & branding you set accent colour, button shape (Soft, Pill, Square) and an announcement banner; Apply to Stripe checkout puts your colour and logo on the payment page.
Payment methods and fields
Which payment methods appear (card, SEPA, PayPal, Apple Pay, Google Pay) is controlled in your Stripe dashboard. Under Customer information you choose fields such as VAT ID, phone or full billing address.
Test it
The Live preview on the right is in test mode: click through product, cart, checkout and access on desktop and mobile.
Frequently asked questions
Are the legal notices at checkout handled?
The structure, field order and legal notices of the checkout are fixed, including the consent to immediate access for digital content. You remain responsible for your offer and your texts.